
Zappar image tracking tutorial
Blog -
Here at Poplar Studio we’re really excited about web-based augmented reality, so we are very happy that Zappar has started supporting WebAR content creation. This tutorial is a step-by-step walkthrough on how to produce a WebAR experience using Zappar’s image tracking technology:
1. Sign up for ZapWorks Studio (free for 30 days) and download ZapWorks Studio onto your computer. (Optional step: review the ZapWorks documentation page).
2. Download the following assets onto your computer to follow along with the tutorial:
- Image target / Save the Turtles (print if you can)
- Seaweed (gltf format)
- Sand texture (fbx format)
- Animated turtle model (gltf format)
3. Open the Zapworks Studio program on your computer. Press ‘New Project’, select ‘Image Tracking’ and name your project.
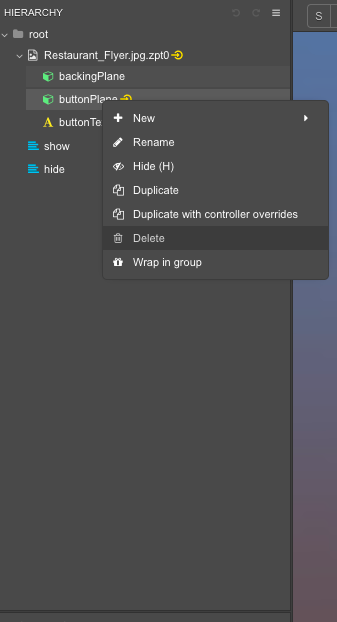
4. Delete what you don’t need by left-clicking on ‘backing-plane’ and selecting ‘delete’. Do the same for ‘button-plane’ and ‘button-text’.
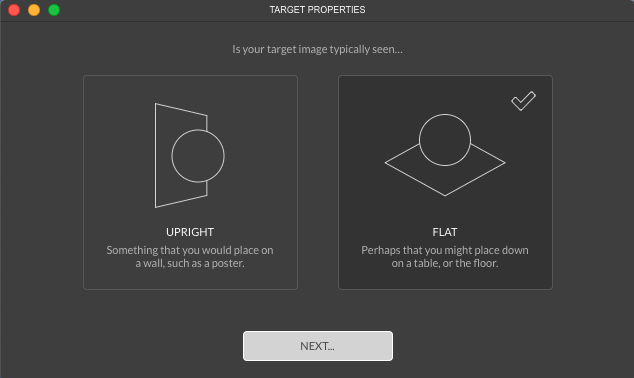
5. Replace the default image target with your own by clicking the ‘+’ icon in the top right corner and selecting the ‘train image file’ option. Select the Image Target/Save the Turtles image from your download folder and select ‘flat’.
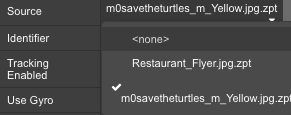
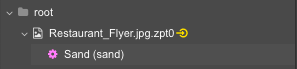
6. Now in the hierarchy, left-click on ‘Restaurant_Flyer.jpg’ and, in the properties below, change the source path to your new image.
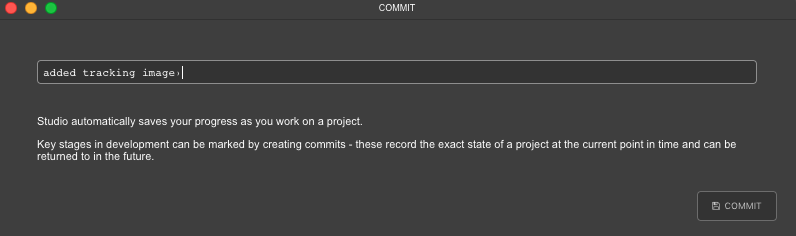
7. If the viewport doesn’t reflect your new changes, not to worry. On the top bar, click the ‘Commit’ button and write something in the commit message. Once done, close the program and reopen your file. You should now see the ‘save the turtles’ image.

8. Add some assets to track your image. The first item you’ll want to add is the sand from the sandstone_tiled_texture folder, drag the .fbx file into ZapWorks Studio, to the top right corner and into the box underneath ‘Media Library’. This should trigger a short conversion process and then offer you the option to import textures. Drag or select the Sand_Diffuse.jpg image into the input field under ‘Unlit Material’ and then press ‘Finish’.
9. You will now see a new item under ‘Symbols Definitions’ in the bottom right of the screen. Drag it from there into the hierarchy as a child of your image target. You should now be able to see the sand model in your scene.
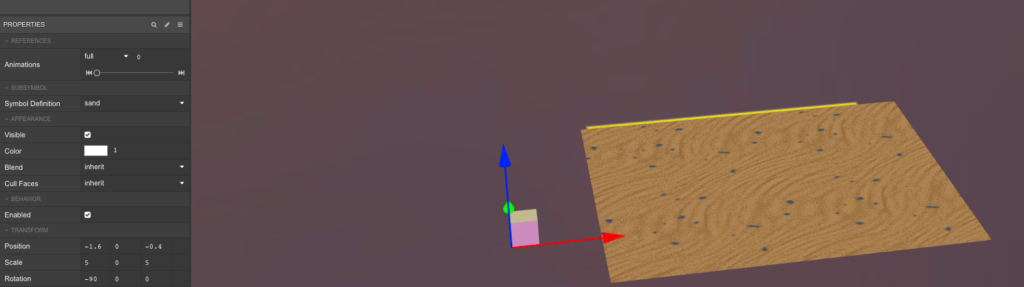
10. Now you’ll need to rearrange the attributes so that the sand is parallel to the image. You can either change attributes in the top bar or in the properties fields. In the top bar, the buttons ‘s-scale’, ‘r-rotation’, ‘p-position,’ when clicked, will allow you to adjust the model. In the properties, you can more finely attune the scale, rotation, and position of the model. Whichever tool you use, adjust the sand models so it looks like the image below and covers the image.
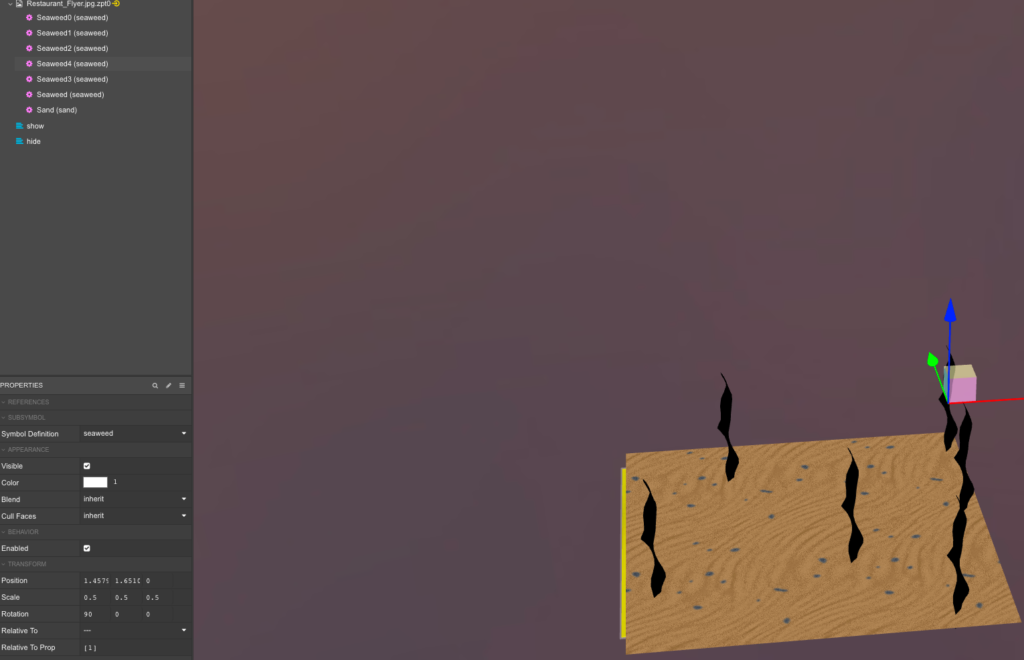
11. Now take everything you’ve learned in this tutorial and do the same for the seaweed. Drag the glb and gltf files from the curly_blade_of_seaweed folder into the media library box. From the materials dropdown, select ‘Unlit Material’, and then drag the lambert4SG_baseColor.jpg from the textures folder into the first input field. You should see a preview of the seaweed that looks dark green. Click ‘Finish’, name it ‘seaweed’, and drag it from the Symbols to the hierarchy as a child of the image target.
12. Arrange the attributes so that the seaweed is orientated correctly and scaled appropriately. To include more than one seaweed, right-click on the item in the hierarchy and click ‘Duplicate’. Move the duplicate to a different position on the sand floor and repeat a few times.
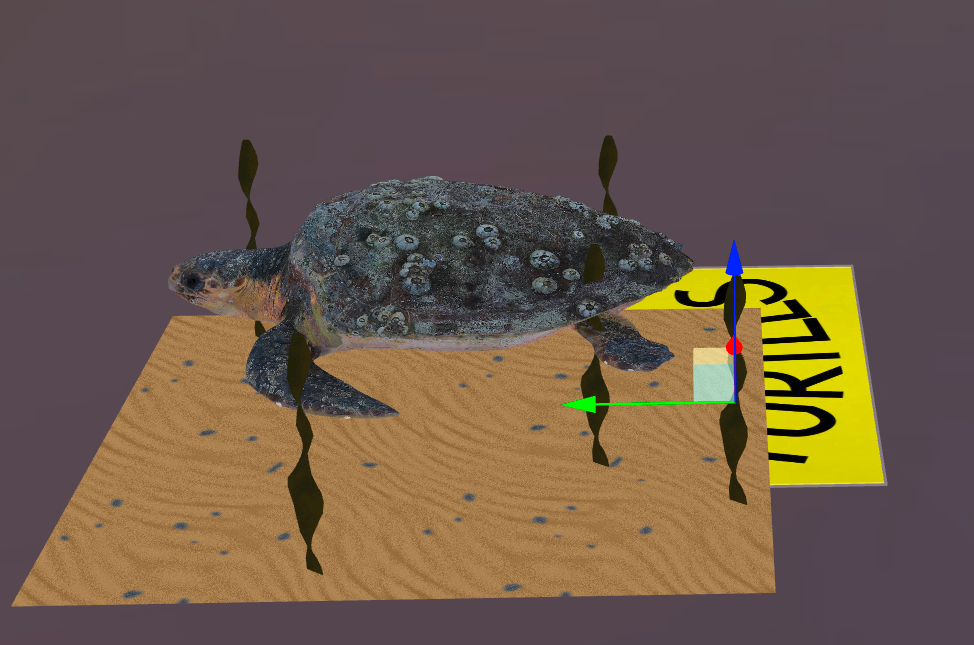
13. Next, you’ll need to import the 3D-animated model of the turtle. Like in the previous step, drag the gltf and glb files into Media Files. Select ‘Unlit Material,’ drag all the textures into the first input field and click ‘Finish’. Drag the turtle symbol into the hierarchy as a child of the image. You should now have all the models as children of the target image. Your next step is to animate the turtle.
14. To animate the turtle model, follow this video made by the Zappar team.
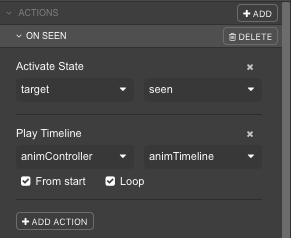
15. Once you’ve added the timeline, when pressing play, you should see the turtle swim, but there’s one more step. Left-click on the image target in the hierarchy and, at the bottom, left-click on ‘Add’. Select On First Seen > Play Timeline > animController > animTimeline and then click the ‘From start’ and ‘Loop’ toggle.
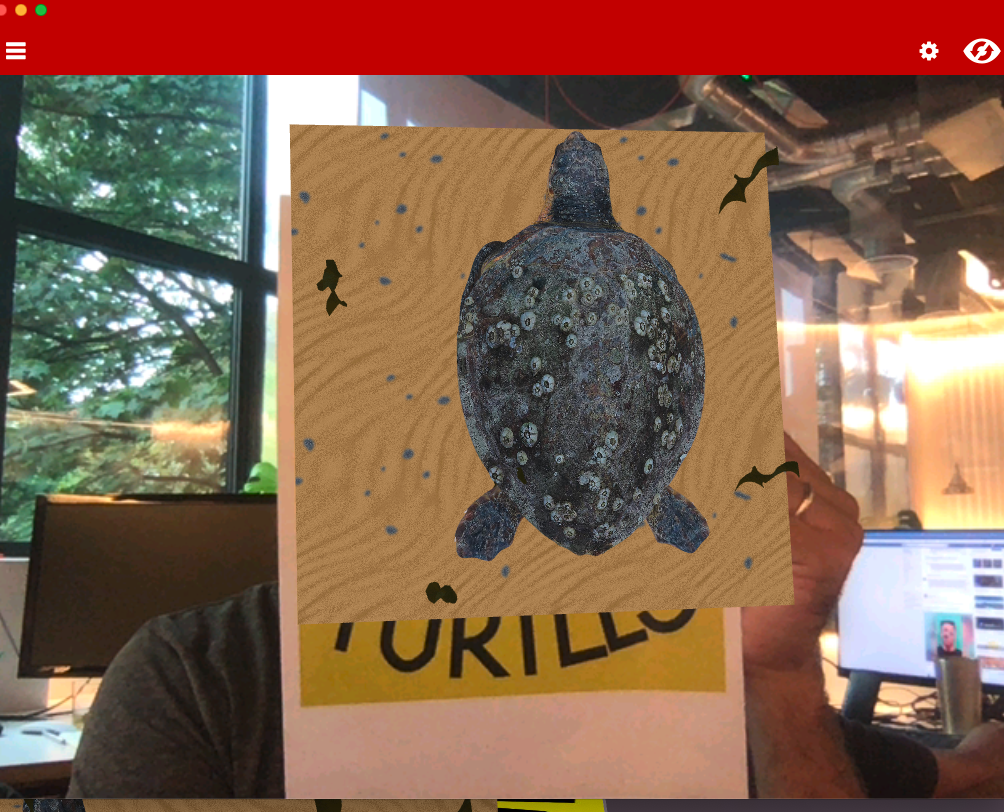
16. Now is a good time to make another commit and preview your progress. Right next to the ‘Commit’ button, click ‘Preview,’ which requires you to log into your ZapWorks account. Once the preview application is running, hold the image target up to your camera and you should be able to see your scene, including your animated turtle.
17. If you’re happy with what you’ve built so far, the next step is to publish your project. But before you can publish, you’ll need to create a project on your Zapworks online account. Once logged in, create a new project by clicking on the big red button at the top, name your project, and select ‘Studio’. In the next step, choose ‘WebAR QR code’ and then select ‘Create Project.’
18. Back in ZapWorks Studio, click the ‘Publish’ button, right next to the ‘Preview’ button. Select the name of your project, press ‘Choose Selected’ and then ‘Publish’.
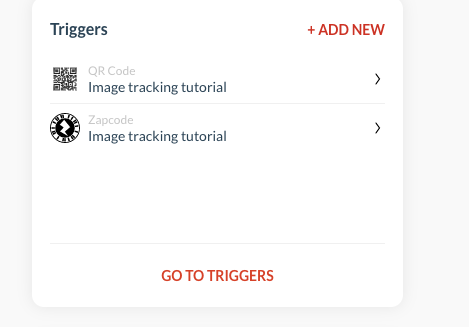
19. Go back to your browser to your ZapWorks projects page and then select ‘Go to Triggers’ and click PNG next to the QR code, so that it downloads onto your computer.
20. Either print it out or view the QR code on your computer. By pointing your phone’s camera at the QR code, you will have the option to follow a link in your browser.
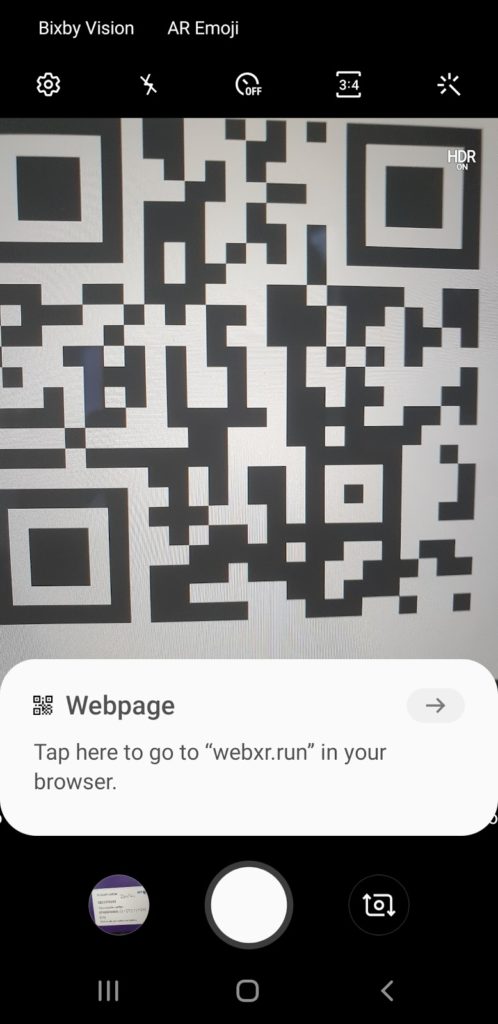
21. By tapping the popup, your browser should open with the Zappar branded launch page. Tap ‘Launch’ and your camera feed should begin. Point at the target image with your phone and you should be able to see the underwater scene.
That’s it! You now have a WebAR scene running directly from the browser that you can share with your friends and family. Next, try building your own scene. We’d love to see what you come up with!
If you’re interested in developing WebAR applications with Zappar’s technology for big brands like Sony, Disney, Warner Bros, Universal, and others, sign up as a creator for Poplar Studio and get paid to build amazing AR experiences.

